
The terms Clay Bar or Detailing Clay were once restricted to Detailers but now have become common place to most people who care for their car. ‘Clay’ is used to remove contaminainants (unwanted build up) on the paint surface that will not normally be removed by regular washing alone. The best way to see if your paint needs claying is to rub your hand over the paint after washing, if not it not silky smooth, your paint would benefit from a clay bar. However we do suggest to clay your car annually.

Clay bars can remove most stubborn stains such as tree sap, tar, overspray, jet fuel dropout, bug residue and other general grime that sticks to the paint. Using a clay bar to remove these is easy to do, cost effective and will leave your paint looking like glass and feeling like silk.
Claying your paint is only a partial stage in a proper detail and should always be followed by a polish and wax to seal your paint and protect it. Claying will not remove swirls or scratches.
Tips before starting
Make sure your car has been washed thoroughly and dried. Try to work inside, if not always in the shade and ensure the paint surface is cool Check the surface of the paint using the back of your fingers or place a plastic shopping bag over your hand. Both allow you to feel small imperfections If you have a new Clay Bar such as Dodo Juice, Clay Magic or Gyeon Q2M Mild Clay Bar or Gyeon Q2M Coarse Clay Bar. Cut the bar into 2 or 3 pieces on a clean surface. Leave the remaining pieces in the storage box and take just 1 piece to your car to work with. Make sure your hands are clean and free from contaminants and dirt.

What you need:
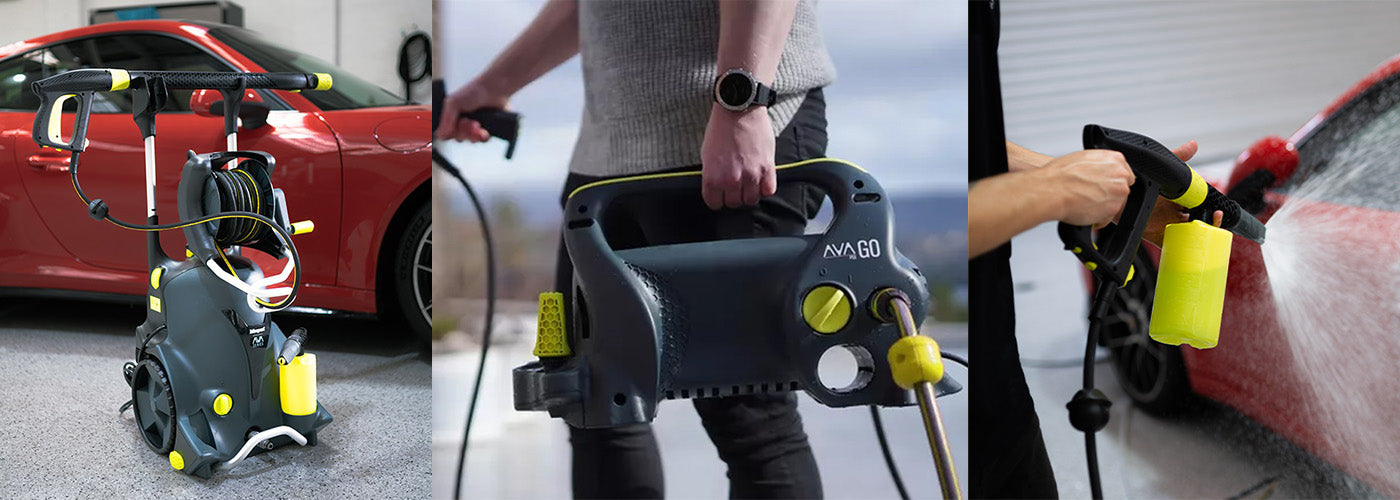
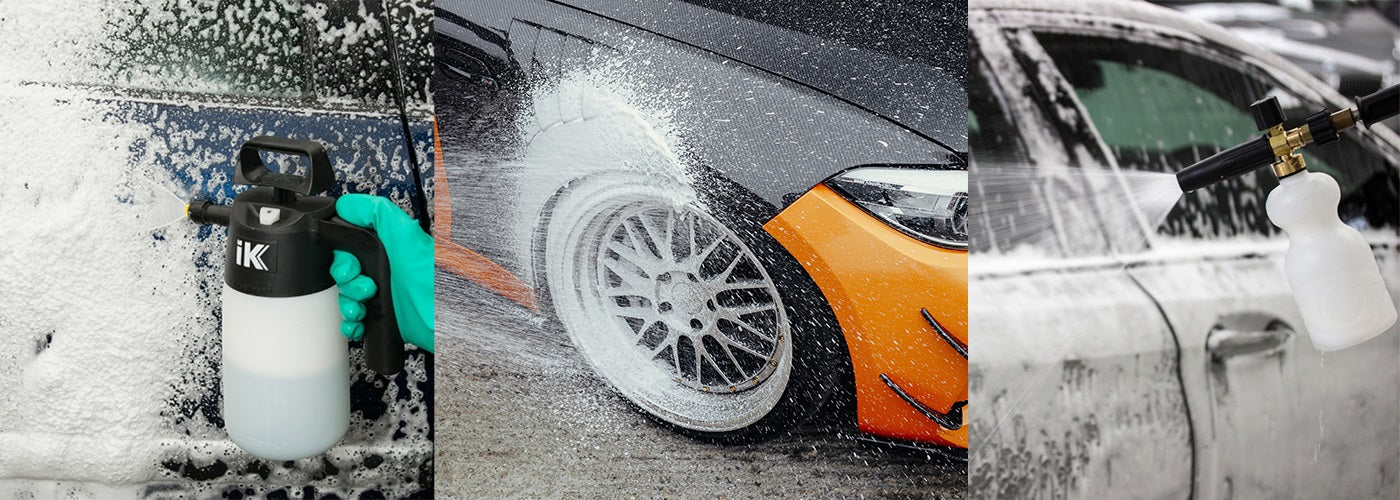
A Clay Bar (or piece of a large bar) A Lube Spray A Microfiber cloth
Claying Tips:
1. Take your clay bar (piece) and mould it in your hands, warm the clay until it is soft, warm and slightly tacky.
2. Flatten the clay in your palm
3. Spray a small section of your car, (approx 300mm – 400mm square or quarter of the bonnet) with 3-6 good sprays of lube, ensuring the surface is well covered
4. Place the clay on the wet surface and worked smoothly side to side and then up and down (not in circles) over the wet section. The clay should start to flow more freely as you work it. Do not apply too much pressure to the clay, let it do the work.
5. Remove the clay from the surface and gently wipe off any residue off the paint with a Microfibre cloth
6. Look at the surface of the clay, it should now be covered in small black or brown specks or dots. Wipe the clay with your hand to remove excess lube or dirt.
7. Now feel the surface of the paint with the back of your hand or through the plastic bag. It should now be silky smooth. If not see below for troubleshooting.
8. Now fold your flat piece of clay over onto itself, moving the dirty side into the centre and exposing a clean, flat area for your next section.
9. Start the next section by spraying lube over and again working the clay gently over this area as before. Again wipe off residue and then progress over the rest of the car.
10. Once you have finished the car you are now ready to start polishing or seal your paintwork with a wax or sealant. Before this next stage you may wish to wash over the car again or use a paint cleaner to prepare the surface for waxing.

Ongoing Tips & Troubleshooting:
Constantly check the clay surface for the contaminants, even if you are in the middle of a panel, if your clay is really dirty, stop and fold it in to a clean surface
If the clay starts to drag or streak on the paint surface you are probably not using enough lube, spray on slightly more, re-flatten the clay and work over the panel again.
If after claying the paint is still not smooth or was very poor to start with, it may need a second treatment. It is advisable to complete the whole car and then start from the beginning again, you might need a second bar/piece of clay if it is this severe for the second clean.
If your car is not too bad then the piece of clay can be used again and perhaps again a third, fourth or even fifth time.
Similar to washing; clay your roof, bonnet and doors first before moving to the front, back and skirts, as these will probably be more contaminated with tar etc.
Have a clean plastic container next to you to put your clay in while not using it.
Do not throw away used/dirty clay bars, you can also clay your windscreen or rims, so just refold well, use plenty of lube and watch stubborn marks or tar disappear.
Always store your clay in the container
Always use a good clay lube, cheap wash shampoo solutions might not contain enough lubricating properties and have been know to add scratches.
How often you clay depends on your driving pattern, but generally a daily drive should only need claying once or twice a year.
If you drop your clay bar on the ground – throw it away! It might seem like a waste but the damage contaminated clay can cause to paintwork is much more expensive.

Download file
For a demonstration of this topic please see the video: