METROVAC
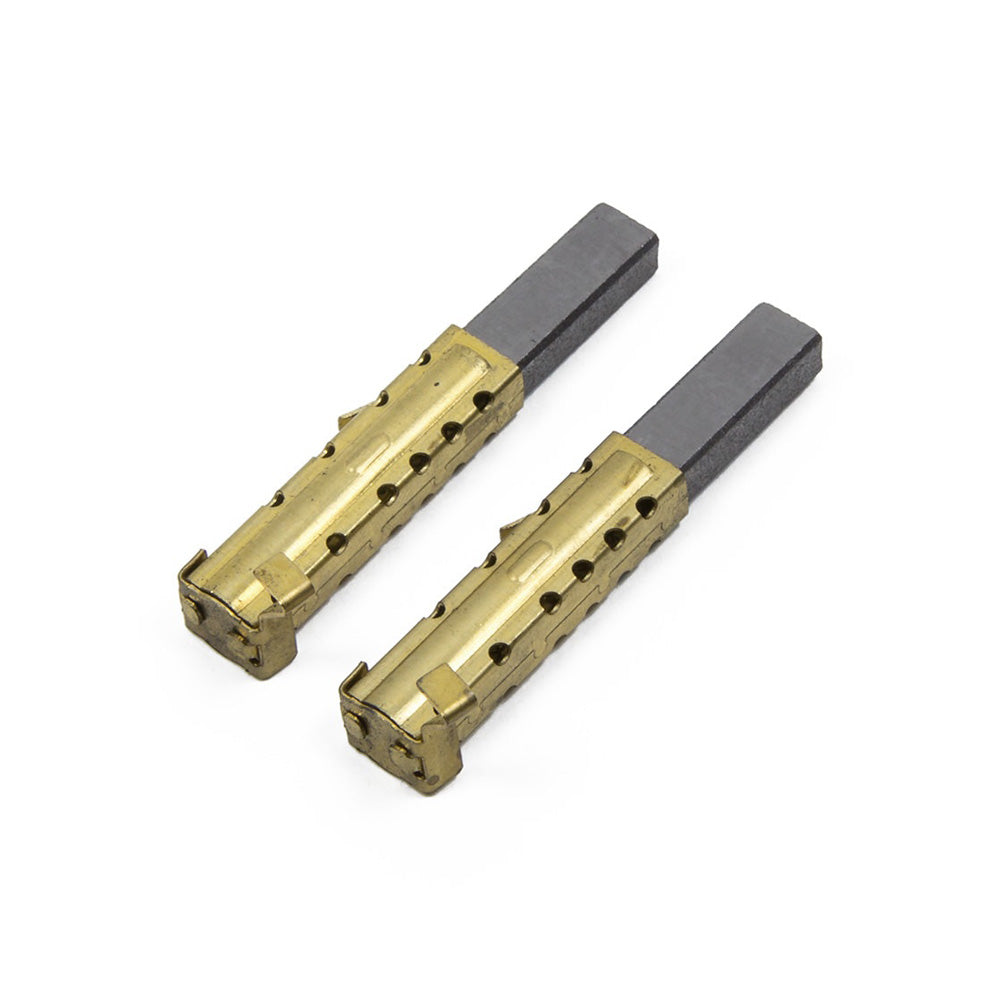
MetroVac Carbon Brushes for SideKick
Free Shipping For Orders Above $150.00 – Conditions Apply
Same Day Dispatch
on orders before 12pm
Available In:
Supplied as a pair.
Product Features and Benefits:
- High-quality carbon brushes for MetroVac Blaster SideKick
- Direct replacement for worn-out brushes
- Ensures optimal performance and longevity of your SideKick
- Easy to install
- Keeps your SideKick running like new
The MetroVac Carbon Brushes for SideKick are high-quality replacement parts designed to keep your SideKick running like new. Over time, the carbon brushes in your SideKick may wear out, causing a decrease in performance and efficiency. Replacing them with these high-quality carbon brushes ensures optimal performance and longevity of your SideKick.
These carbon brushes are direct replacements for the worn-out brushes in your SideKick, and are easy to install. Simply remove the old brushes and install the new ones in their place. With these replacement brushes, you can ensure that your SideKick continues to deliver powerful and consistent airflow for all your drying needs.
Step 1: Turn off and unplug the MetroVac SideKick
Before replacing the carbon brushes, make sure the MetroVac SideKick is turned off and unplugged from the power source to avoid any accidents.
Step 2: Locate the carbon brushes
The carbon brushes are located on the motor unit of the MetroVac SideKick. To access them, you'll need to remove the top cover of the motor unit. This can usually be done by removing a few screws or clips.
Step 3: Remove the old carbon brushes
Once you have access to the carbon brushes, gently pull them out of their holders. Take note of how the brushes are positioned in the holders so you can properly insert the new ones.
Step 4: Clean the holders
Before inserting the new carbon brushes, make sure to clean the holders by wiping them down with a clean, dry cloth. This will help remove any dirt or debris that may have accumulated in the holders.
Step 5: Insert the new carbon brushes
Insert the new carbon brushes into the holders, making sure they're positioned correctly. The brushes should fit snugly into the holders without any gaps or wobbling.
Step 6: Reassemble the MetroVac SideKick
Once you have inserted the new carbon brushes, reassemble the MetroVac SideKick by replacing the top cover of the motor unit and securing it in place with screws or clips.
Step 7: Test the MetroVac SideKick
After replacing the carbon brushes, turn on the MetroVac SideKick and test it to make sure it's working properly. Check for any unusual noises or smells, and make sure the suction or blowing power is at its normal level.


