METROVAC
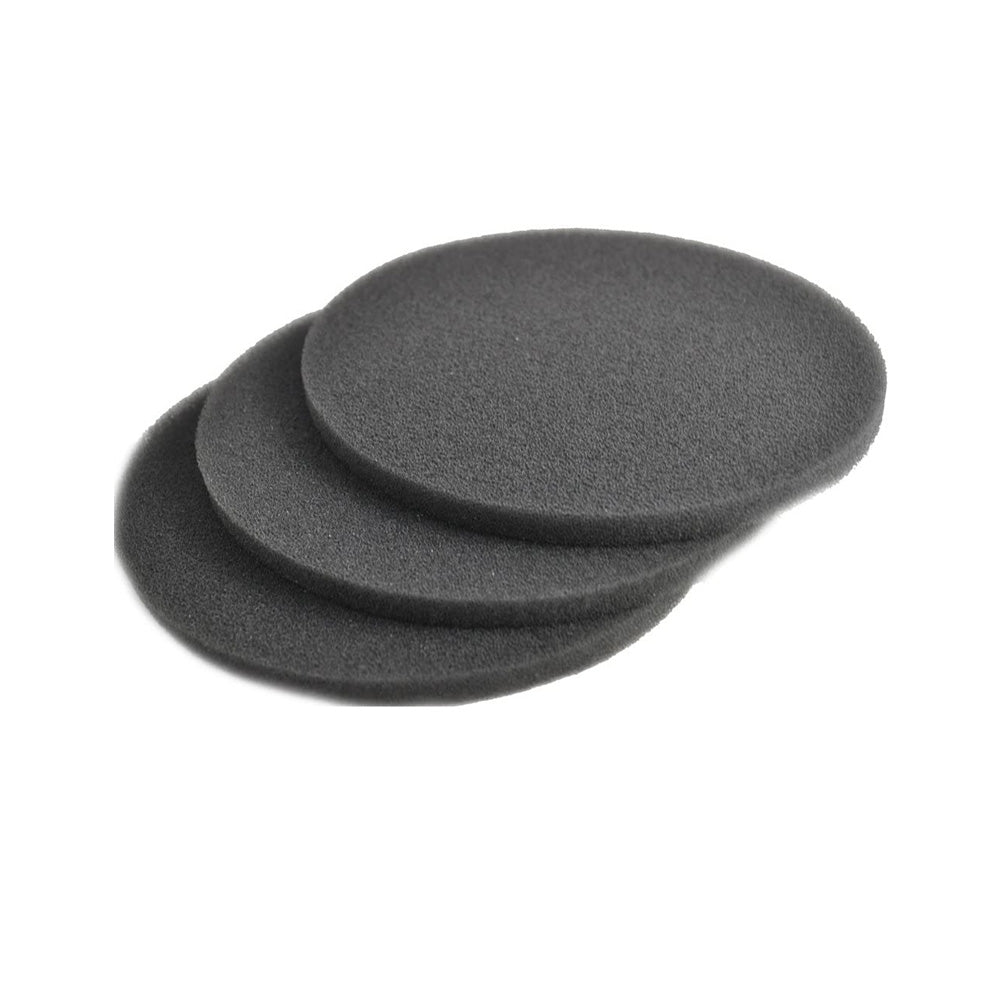
MetroVac Foam Filter Replacement
Free Shipping For Orders Above $150.00 – Conditions Apply
Same Day Dispatch
on orders before 12pm
Available In:
Product Features and Benefits:
- High-quality foam filter for MetroVac Master Blaster and Vac N Blo Series Blowers
- Direct replacement for worn-out filter
- Effectively captures dust and debris
- Easy to install and remove for cleaning
- Helps extend the life of your MetroVac Master Blaster and Vac N Blo
The MetroVac Foam Filter Replacement is a high-quality filter designed to keep your MetroVac Master Blaster or Vac N Blo running smoothly and efficiently. Over time, the filter in your Metrovac may become clogged with dust and debris, reducing its suction power and potentially damaging the motor. Replacing the filter with this high-quality foam filter ensures that dust and debris are effectively captured, helping to extend the life of your Metrovac.
This foam filter is a direct replacement for the worn-out filter in your Metrovac, and is easy to install and remove for cleaning. Simply remove the old filter and replace it with the new one. Cleaning the filter is also a breeze - just rinse it with water and let it dry before reinserting it into your Metrovac.
With this foam filter replacement, you can ensure that your MetroVac continues to deliver powerful suction and keep your workspace clean and free of dust and debris.
Step 1: Turn off and unplug the MetroVac
Before replacing the foam filter, make sure the MetroVac is turned off and unplugged from the power source to avoid any accidents.
Step 2: Locate the foam filter
The foam filter is located inside the MetroVac canister, which is typically located on top of the blower or vacuum unit. To access the foam filter, remove the canister from the unit by pressing the release button or lever.
Step 3: Remove the old foam filter
Once you have access to the foam filter, remove it from the canister by gently pulling it out. Take note of how the filter is positioned in the canister so you can properly insert the new one.
Step 4: Clean the canister
Before inserting the new foam filter, make sure to clean the canister by wiping it down with a clean, dry cloth. This will help remove any dirt or debris that may have accumulated in the canister.
Step 5: Insert the new foam filter
Insert the new foam filter into the canister, making sure it's positioned correctly. The filter should fit snugly into the canister without any gaps or wrinkles.
Step 6: Reassemble the MetroVac
Once you have inserted the new foam filter, reassemble the MetroVac by placing the canister back onto the unit and securing it in place. Make sure all latches or buttons are properly locked in place.
Step 7: Test the MetroVac
After replacing the foam filter, turn on the MetroVac and test it to make sure it's working properly. Check for any unusual noises or smells, and make sure the suction or blowing power is at its normal level.


