
CAR CARE PRODUCTS
Paint Thickness Gauge
Free Shipping For Orders Above $150.00 – Conditions Apply
Same Day Dispatch
on orders before 12pm
Available In:
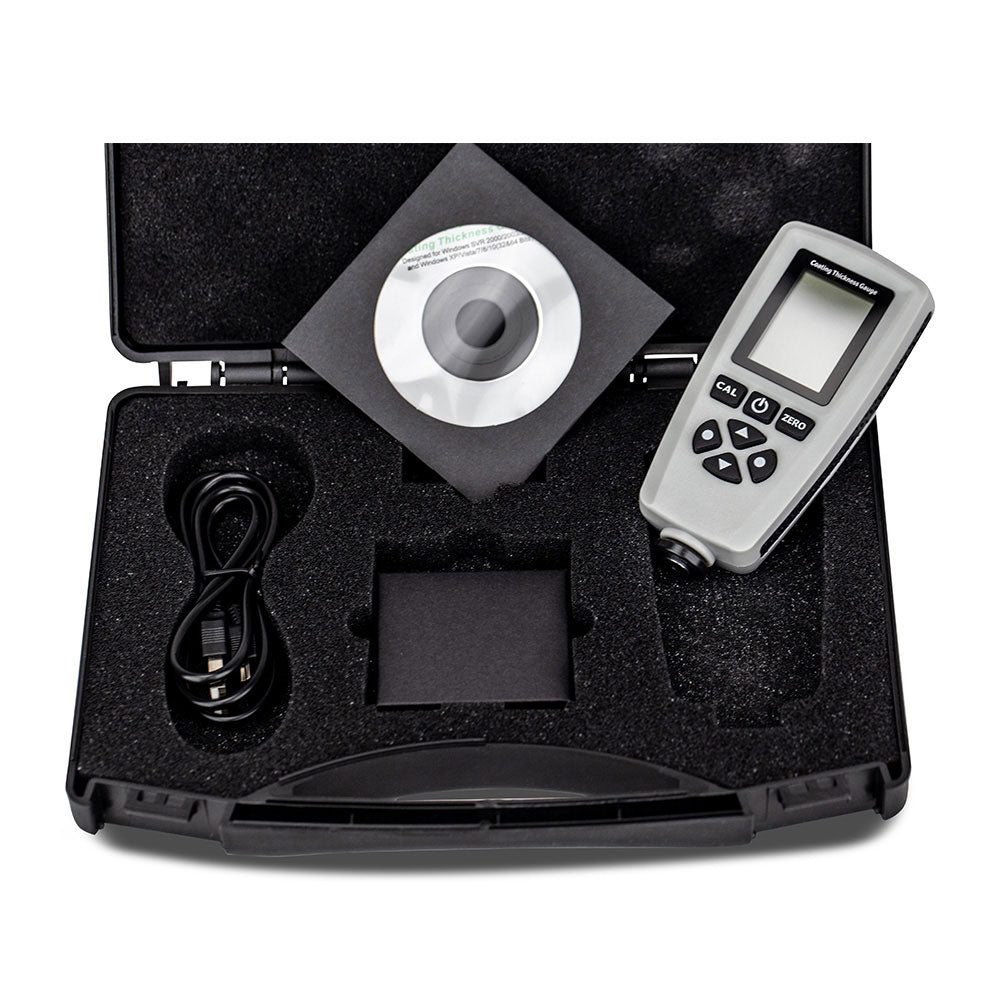
This digital gauge is often called a Paint Thickness Gauge or a Digital Coatings Meter, it measures a range of coatings, including paint, on both steel and aluminium body panels. The quality build and design makes this gauge suitable for use in a workshop and for use in a mobile situation, out on the road.
This PTG Combination has two modes F (Ferrous) and NF (Non-Ferrous) which it automatically switches between when presented with differing base metals of panels:
The Ferrous Mode will read the thickness of paints and coatings on Steel, Iron, Mild Steel & Magnetic Stainless Steel substrates using Magnetic Induction
The Non Ferrous Mode will read the thickness of paints and coatings on Aluminium, Copper & Brass using Eddy Current.
This precision gauge can also read a number of other coatings in addition to paint including: plastic, enamel, zinc and aluminium over ferrous substrates and plastic, lacquer, enamel and galvanising over non-ferrous substrates. This is done with the gauge automatically recognising the substrate material and switching between ferrous and non-ferrous methods.
The digital display has a high resolution and gives an exact reading in either micron or mil.
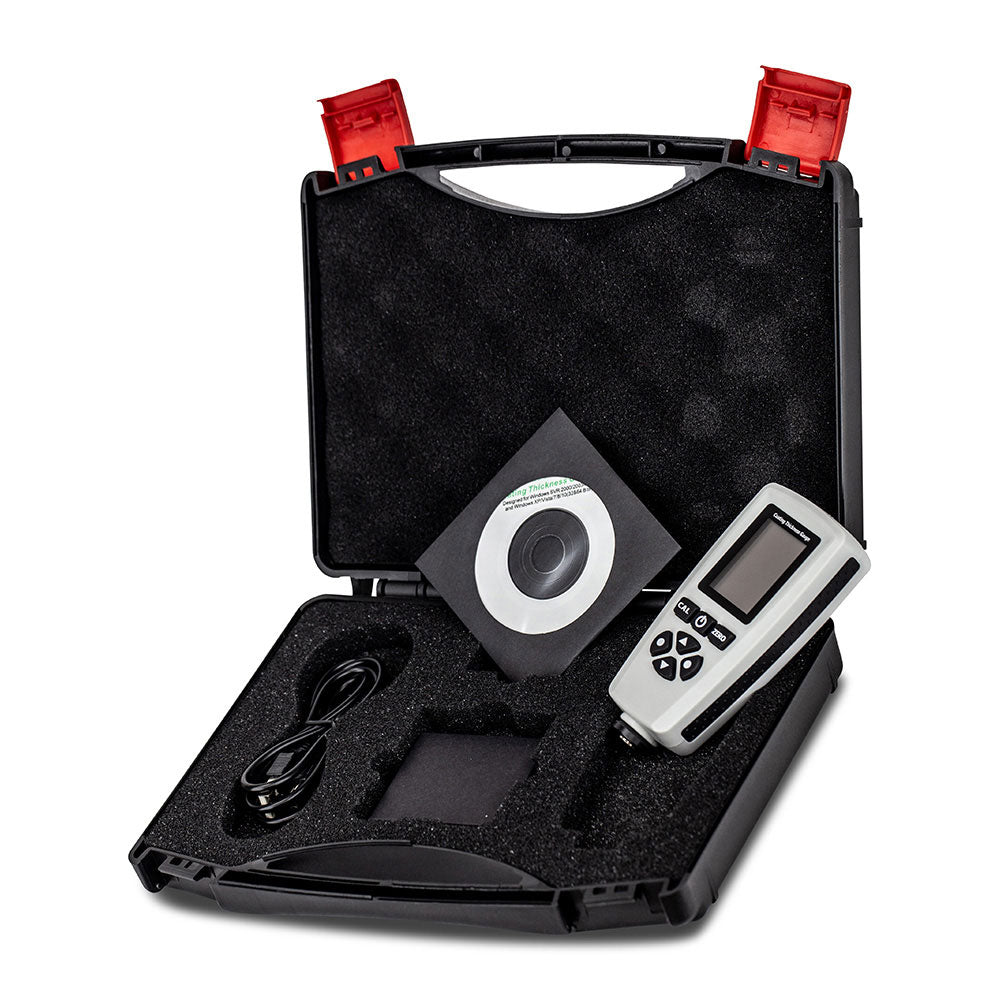
The Paint Thickness Gauge comes with test steel and aluminium sample plates and calibrated slides to ensure it is and remains accurate. A handy case is also included to protect the gauge when not in use.
This Paint Gauge allows two group mode; direct(DIR) and general (gen), readings will be lost when powered off in direct mode, and up to 80 readings can be stored in general mode that are transferable with a USB interface connection to your computer. This allows the user to recall, delete and store specified readings from the gauge in different groups.
This gauge conforms to Quality Standards: ISO2178, ISO-2360, DIN, ASTM and BS. The resolution on screen is 0.1 µm (0-99.9 µm) and 1 µm (over 100 µm) The ideal operating conditions are 0-50C (32F-104F), <90% RH.
Why use a gauge? Do you know the full history of the car? Do you even know how much paint the factory has originally put on the car? Manufacturers can apply anything from 70 microns to over 200 microns depending on brand, paint formulation, substrate, metallic effect, there are a number of factors. So when you are looking to polish / cut / or take out some scratches it is definitely finding out how much paint you have to play with first!
This PTG will let you know to the nearest 10th of a micron (for readings of less than 100microns) and help you avoid going too hard or too far and needing an expensive respray. It can also indicate whether the surface has been filled and through deduction you can know if the paint is original.
For professional and enthusiast usage.
Power: 4x1.5v AAA battery
Accuracy : ±1-3% ( ±2.5 µm or 0.1mil-whichever the greater)
Range: 0-2000um (microns)
Warranty: 12 months
Step 1: Unboxing and Setup
Remove the Paint Thickness Gauge from the packaging.
Insert four 1.5V AAA batteries into the gauge.
Power on the gauge.
Step 2: Selecting the Measurement Mode
Identify the type of base metal on the panel: Ferrous or Non-Ferrous.
Switch the gauge to the appropriate mode: F (Ferrous) or NF (Non-Ferrous).
Step 3: Taking a Measurement
Place the gauge on the painted surface of the panel.
Press the gauge firmly against the surface to ensure proper contact.
Wait for the gauge to display the measurement reading on the digital display.
Step 4: Interpreting the Measurement
Note the measurement value displayed on the gauge in either micron or mil.
Refer to the gauge's documentation or the product description to understand the acceptable range for the specific application.
Make decisions regarding polishing, cutting, or scratch removal based on the measured paint thickness.
Step 5: Storing and Transferring Readings (Optional)
If using the general mode:
- Power off the gauge to save readings. Note that readings will be lost when powered off in direct mode.
- Up to 80 readings can be stored and transferred to a computer via a USB interface connection.
Step 6: Maintenance and Protection
Keep the gauge in a protective case when not in use to prevent damage.
Regularly calibrate the gauge using the included test steel and aluminum sample plates and calibrated slides to maintain accuracy.


